
Tile Flooring Installation in Sioux Falls, SD | Sioux Falls Hardwood Flooring
Sioux Falls Hardwood Flooring installs tile and natural stone floors for homeowners across Sioux Falls, South Dakota, and we have done tile flooring installation here for 15 years. A lasting tile floor starts with a properly prepared subfloor. We check its stiffness and flatness before choosing the installation materials and preparing your estimate.
We install porcelain and ceramic tile, both made from fired clay, along with natural stone such as travertine and marble, which require more support from the subfloor. Large-format and plank tiles come in longer pieces that resemble wood boards, while patterned layouts use smaller tiles arranged in repeating designs. Tile floor installation costs $9 to $18 per square foot, and the cost section below explains what determines where your project falls within that range.
We work across Sioux Falls and the surrounding communities in Minnehaha and Lincoln Counties, and you get a written estimate you can read line by line. Call (605) 799-9142 for a free on-site estimate, or use the quote form to request a proposal.
Get A Free Estimate
Tile and Stone Flooring Options
Porcelain and Ceramic Tile Floors
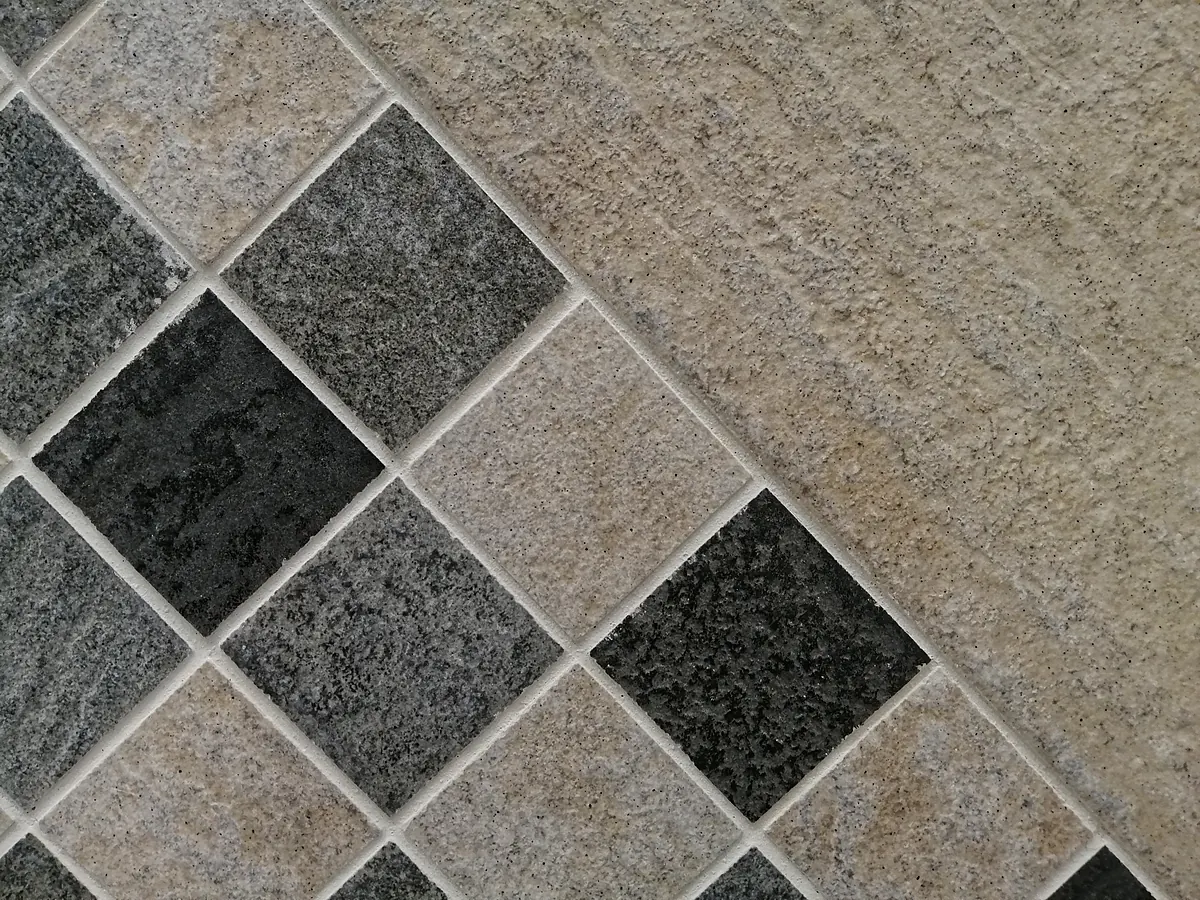
Porcelain and ceramic tile are both made from fired clay, but they differ in density. Porcelain is denser and absorbs no more than 0.5 percent of its weight in water, while ceramic tile varies more in density and is generally easier to cut. Porcelain tile installation is a good choice for entries and mudrooms, where boots track in grit, salt, and meltwater throughout the winter.
Tile edges also affect the finished floor. Rectified tile is cut square after firing, while calibrated tile is sorted by size and retains the slightly rounded edge formed in the mold. The edge determines how wide the grout joints need to be. On glazed tile, the glaze provides both the color and the wear surface.
Natural Stone Floors: Travertine, Marble and Slate
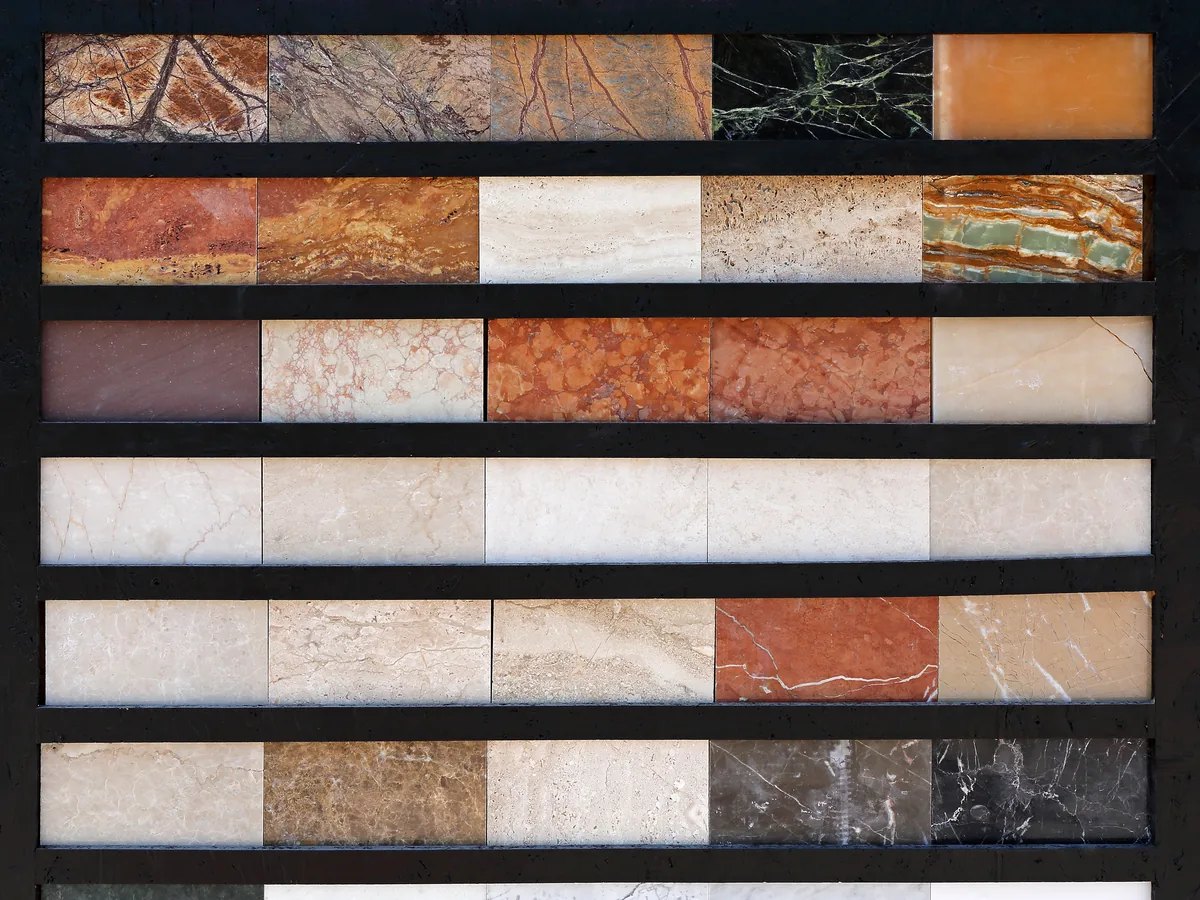
Natural stone is quarried rather than manufactured, so travertine, marble, slate, and granite each have natural variations in color, veining, and hardness from one piece to the next.
We account for those variations by dry-laying the stone and sorting the pieces by color before installation. This keeps the darkest travertine pieces from ending up together in one corner. We also order extra material up front so there is enough stone to get a consistent layout. Each type of stone has different properties. Travertine is a limestone with natural voids and comes either filled or unfilled. Slate splits along its natural grain, leaving pieces of different thicknesses within the same crate. Granite is the hardest and least absorbent of the four. Most natural stone is porous, so natural stone flooring installation includes sealing wherever the product requires it. That sealing is part of the installation, not an extra charge.
Large-Format, Plank and Patterned Tile
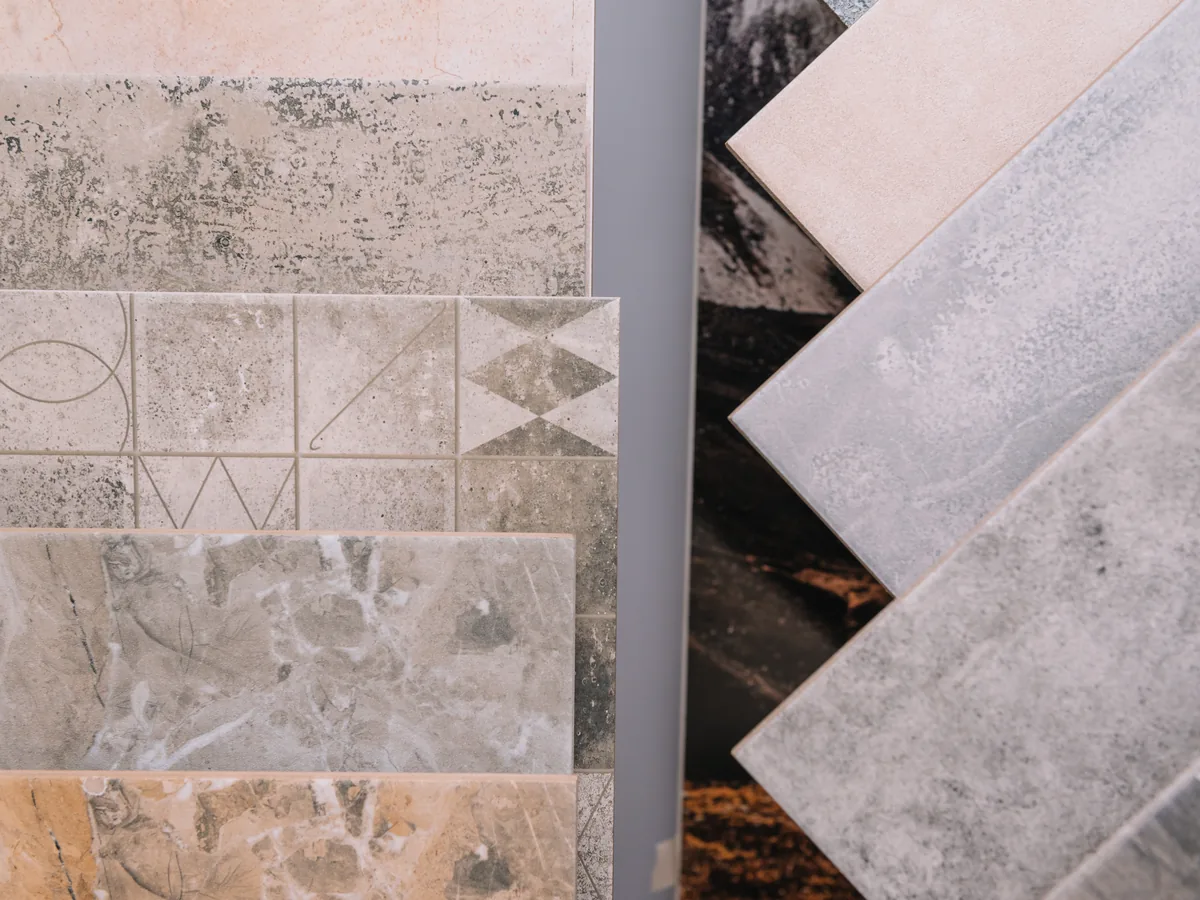
Tiles with a side measuring around 15 inches or more are considered large-format, because the flatness of both the tile and the subfloor becomes more noticeable at that size. Plank tile extends that length further to give the floor the appearance of wood boards.
Fewer grout lines help a small room look larger, while wood-look porcelain plank tile gives you the appearance of wood without its problems with water. The trade-off is that larger tiles require a flatter subfloor. Large tiles also have some natural warping, which affects how they need to be laid. The setting section below explains those requirements. For herringbone and chevron tile installation, we lay out the pattern on the floor before setting any pieces, using either tile or natural stone.
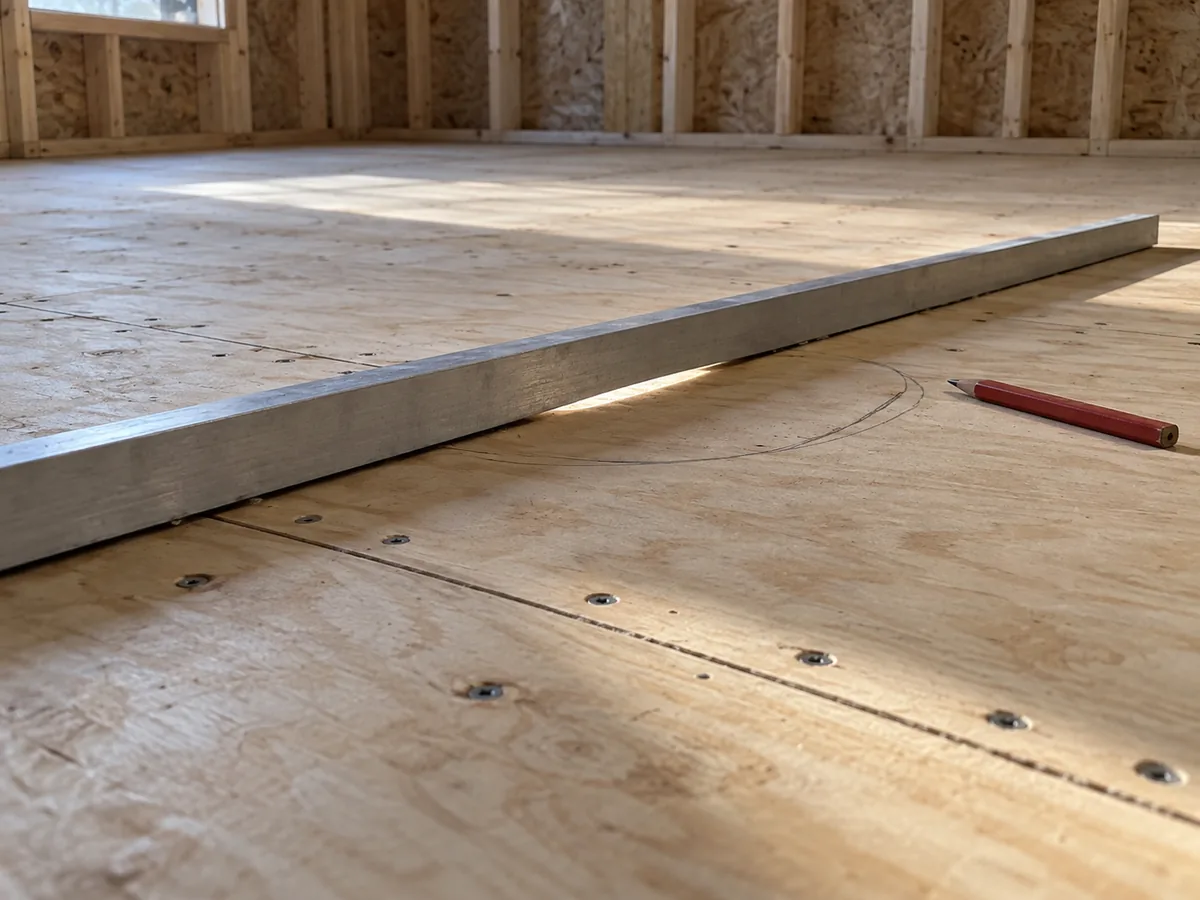
Subfloor Preparation and Tile Flooring Installation
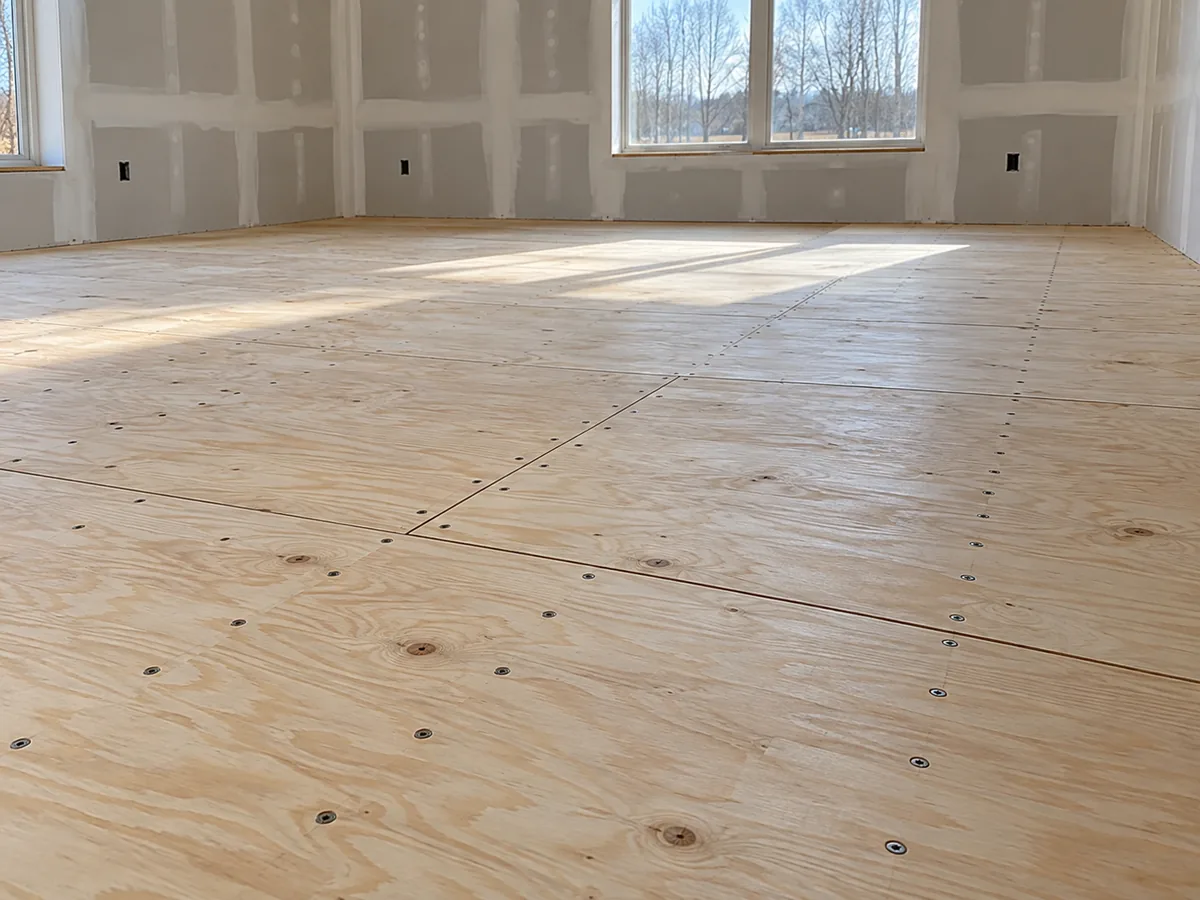
Tile installation follows a set sequence: preparing the subfloor, installing the separation layer, adding waterproofing where required, and then laying out and setting the tile. Our installation methods follow ANSI A108, the national standard for ceramic tile installation, which sets requirements for subfloor flatness, mortar coverage beneath each tile, and allowable tile offsets.
What Your Subfloor Has to Do Before Any Tile Goes Down
Tile subfloor preparation has two separate requirements, and a floor needs to meet both. The first is stiffness, measured by how much the framing bends under load rather than how solid it feels underfoot. The trade expresses this as a deflection limit. L/360 means the framing must not bend more than its span divided by 360 under the design load, which works out to about half an inch over a 15-foot span. Ceramic tile requires a minimum of L/360, while natural stone requires L/720, meaning the framing must be twice as stiff.
The second requirement is flatness. We check the subfloor with a straightedge, allowing no more than 1/4 inch of variation over 10 feet, or 1/8 inch for large-format tile. If the framing is not stiff enough, we assess whether adding blocking or sistering the joists will bring it up to the required limit. Some spans cannot be corrected from below and need structural work before tile installation begins. We grind down high spots and fill low areas with self-leveling underlayment, a pourable cement that creates a flat surface for the tile.
Site conditions matter just as much as stiffness and flatness. A slab without a foundation extending below the local frost depth can rise and settle as the ground freezes and thaws, causing bonded tile to crack regardless of what is installed beneath it. The residential code adopted by Sioux Falls requires foundations to extend 42 inches below finished grade, but the risk to a particular slab depends on its construction, heating, and drainage. That is why we inspect the conditions rather than make assumptions. For an unheated porch or a slab already showing seasonal movement, we will sometimes recommend against installing tile.
What Goes Between the Subfloor and the Tile
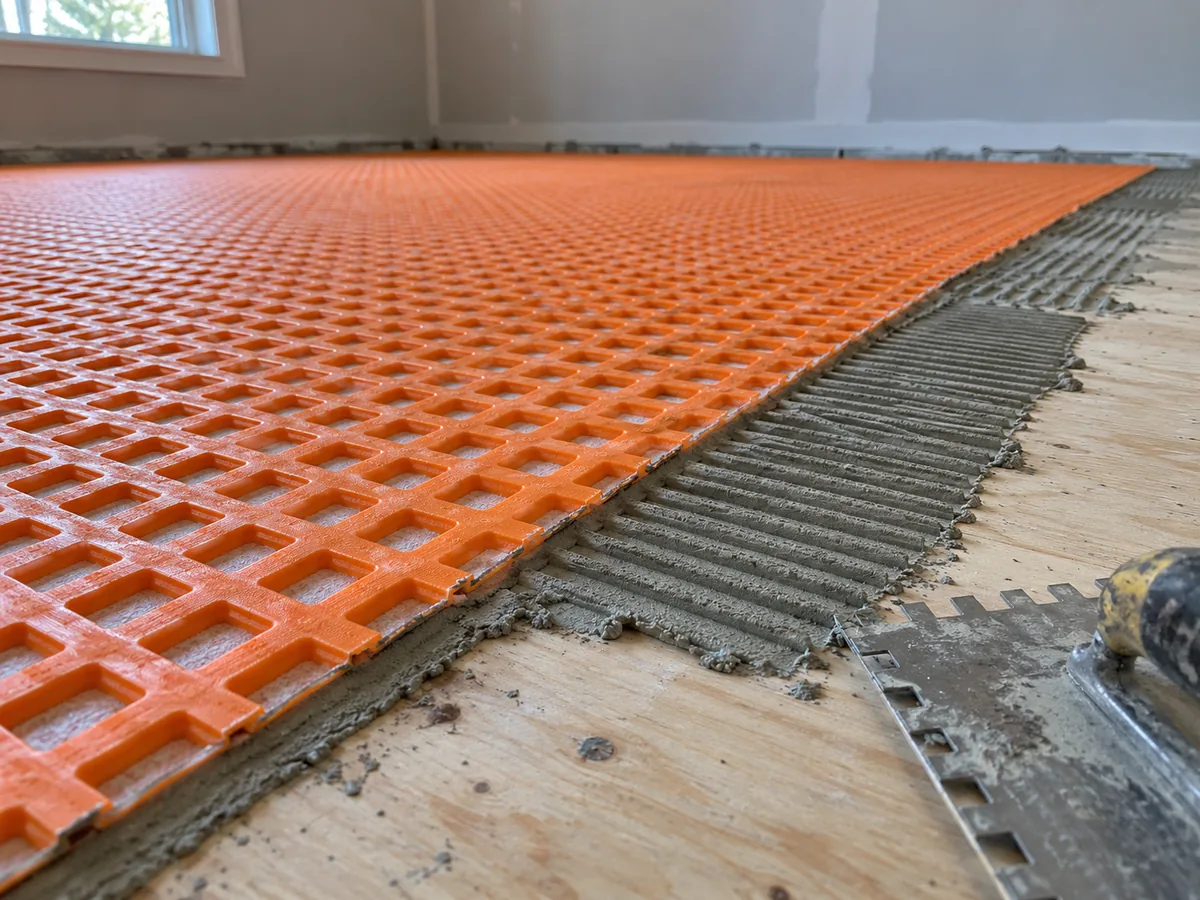
Cement Backer Board or an Uncoupling Membrane
Cement backer board and uncoupling membranes are two products installed between the subfloor and tile, but they serve different purposes. Cement backer board provides a rigid surface for the mortar to bond to and meets ANSI A118.9, the product standard for cementitious backer units. An uncoupling membrane is thinner and helps isolate the tile from small movements in the subfloor, reducing the risk of cracks reaching the tile.
One important distinction is that uncoupling and crack isolation are not the same thing. Not every membrane is tested to ANSI A118.12, which sets requirements for the cracks a membrane must bridge. We check the manufacturer's data sheet and install each product according to its approved methods. Over a cracked concrete slab, a suitable membrane provides protection that cement backer board does not. Neither product makes the floor stiffer, so we address any excessive movement in the subfloor before installing either one.
The Old Floor, and Where the New One Meets Everything Else
Tile can be installed over some existing floors, while others need to be removed first. The decision depends on whether the existing surface is flat, sound, and suitable for bonding, as well as the additional height the new tile will create. We check both conditions during the on-site survey and explain whether the existing flooring can stay or needs to come up.
When the existing flooring needs to come up, we handle removal and disposal, with the price listed separately from the tile installation rate. Floor removal is a separate service, and its page explains the process in more detail. For the new installation, we plan the finished floor height because tile is thicker than carpet, vinyl, and most hardwood flooring. We check where the tile meets adjoining floors, determine whether thresholds or transition pieces are needed, and account for any doors that need trimming. If removing the old flooring reveals additional work, we price it afterward according to the terms in your written estimate.
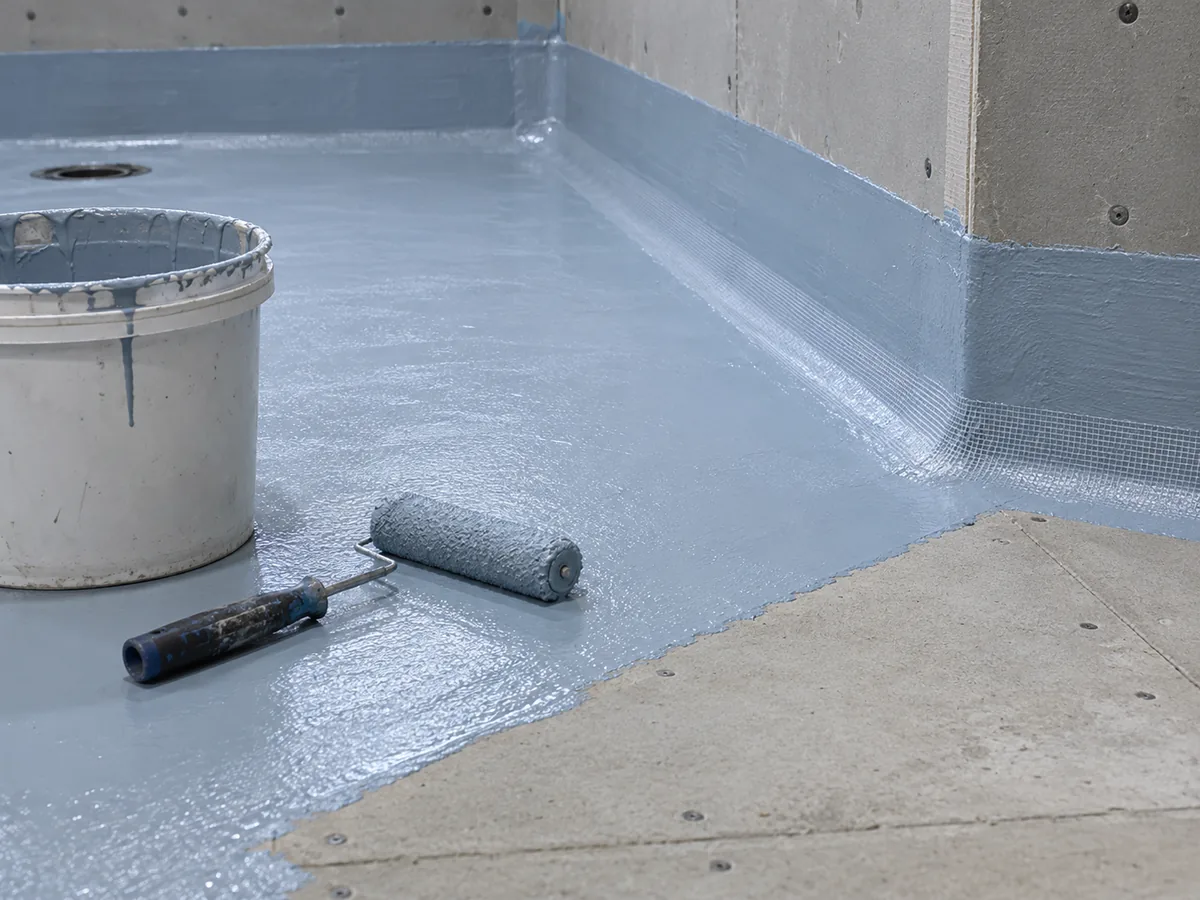
Waterproofing a Wet-Area Floor
Tile waterproofing goes beneath the tile, because cement-based grout is not waterproof and water passes through the joints. A bonded waterproofing membrane stops that water from reaching the subfloor. We use either a liquid-applied or sheet membrane tested to ANSI A118.10, the standard for waterproofing membranes bonded beneath tile. We install these membranes in bathrooms, mudrooms, laundry rooms, and areas beneath bar sinks.
The waterproofing membrane must be continuous, with all edges and penetrations properly sealed before the tile is installed. Those details determine whether the waterproofing works. Grout still needs sealing, but that is for maintenance and stain protection, not waterproofing. Tiled shower pans and shower walls require a different installation process from floor tile, so ask us about those separately.
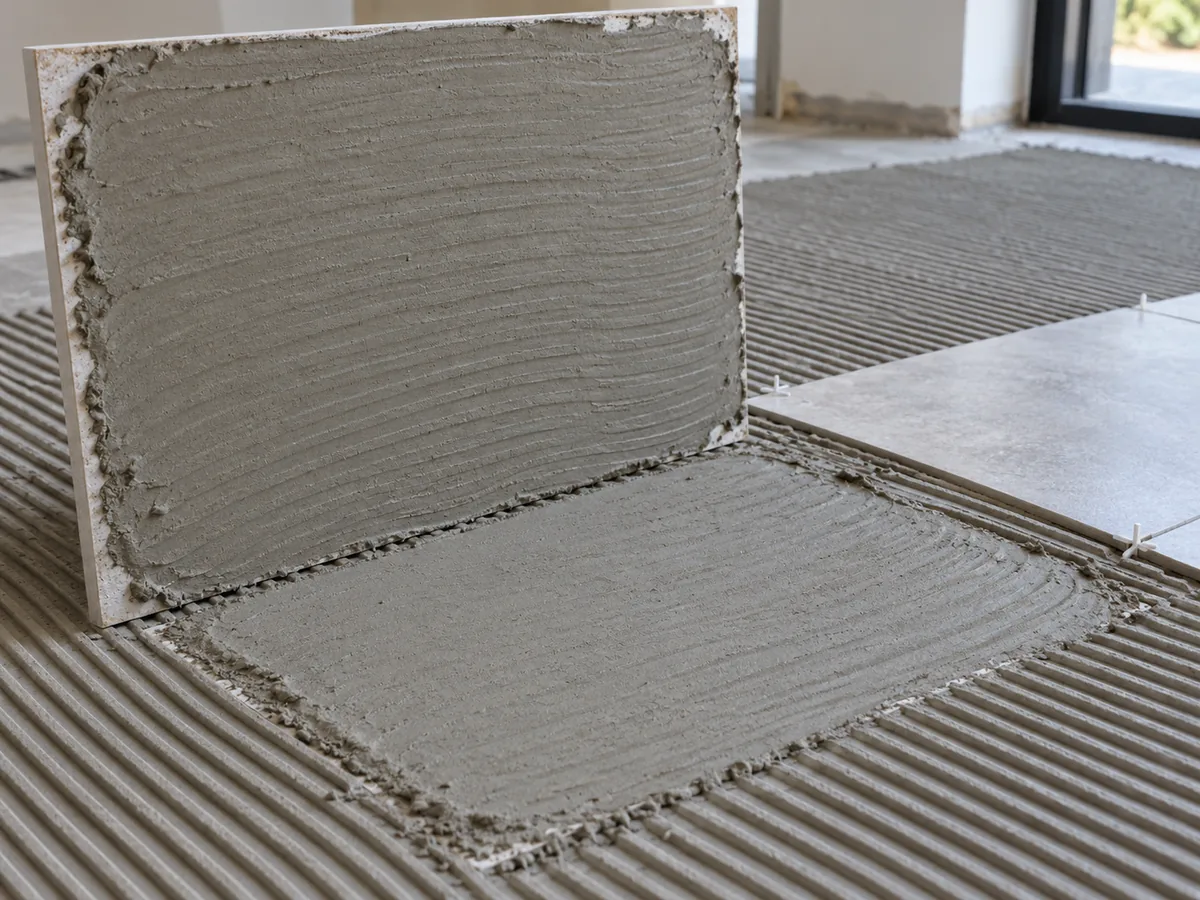
Setting, Coverage and the One-Third Offset Rule
Tile offset, mortar selection, and mortar coverage determine how level the finished floor sits and how well the tiles stay bonded. When a tile has a side longer than 18 inches, we limit the offset to one-third of its length unless the manufacturer specifies otherwise. A half-offset puts the raised center of one tile beside the end of another, creating uneven edges. Mortars also have different performance ratings. ANSI A118.4 covers modified mortars, while ANSI A118.15 sets higher bond-strength requirements for improved modified mortars. The H designation identifies mortar suitable for large and heavy tile and applies to either class. Large-format tile needs a mortar with that designation.
Mortar coverage must reach at least 80 percent of the tile's back in dry rooms and 95 percent in wet areas. We check coverage by lifting a freshly set tile and inspecting the mortar underneath. The mortar must support the edges and corners, not just the center, because an unsupported corner is more likely to crack. We use a notched trowel sized for the tile and comb the thin-set mortar in one direction, then back-butter large tiles to improve coverage beneath the center.
Pricing
Tile Flooring Installation Costs
Tile and natural stone flooring installation in the Sioux Falls area costs $9 to $18 per square foot, with material choice and subfloor preparation accounting for most of the difference. Ceramic tile in a square bedroom falls near the lower end, while natural stone over a subfloor that needs stiffening and leveling falls near the higher end. This published tile installation cost is a local market range, not a quote for your project. Two kinds of condition set yours: what we can confirm at the survey, and what only shows up once the old floor is off. We provide a written, itemized estimate so you know what the work in your room will cost.
What Moves the Price on a Tile Floor
The flooring material establishes the starting price. Ceramic costs less than porcelain, while natural stone costs more than both. Stone affects two parts of the estimate: the material price and the additional subfloor preparation it requires. Tile size and layout also affect labor costs. A 24-by-48-inch plank takes longer to set flat than a 12-inch square tile, while herringbone patterns require more cutting and produce more waste than a straight layout. Small rooms cost more per square foot because they still require detailed cuts and edge work. Of all the tile installation cost factors, subfloor preparation has the greatest impact. A floor that needs self-leveling underlayment adds material costs and an extra day of work.
Where Backer Board and Membrane Show Up on the Estimate
Two quotes for the same bathroom can differ by thousands of dollars if one includes the work beneath the tile and the other leaves it out. We price that work separately, including subfloor leveling, the required separation layer, and waterproofing in wet areas, rather than combining it with the tile installation price. Your estimate should clearly identify the subfloor preparation, underlayment, and waterproofing included. If we cannot confirm the condition of the subfloor until the old flooring is removed, the estimate explains how additional work will be priced. A bundled price is still valid when the scope is clear, and an allowance is appropriate when the work depends on conditions hidden beneath the existing floor.
Our Tile Installation Process
Once you approve the estimate, the installation proceeds in four stages. Sioux Falls Hardwood Flooring walks through the floor with you twice: before any materials are bonded and again when the work is finished. A bathroom floor typically takes two to four working days, with additional time for waterproofing and the curing periods required by the products. If anything changes during the installation, we document it and get your approval before continuing.
-
1.
Subfloor Inspection
Our first visit measures the floor. Walking it shows where there is movement, and a long straightedge finds the low spots and the humps.
Where the numbers look marginal we say so and have the framing looked at properly rather than settling it ourselves. We also measure the height left under each door, because a tile floor sits higher than what it replaces, and those readings go into your estimate.
-
2.
Written Estimate
Your estimate prices each part of the job on its own line instead of folding everything into a single labor figure. It names the tile you picked, its size, and the extra percentage ordered to cover cuts and breakage. If you change what you want partway through, we write the change into the document and you see what it costs before we carry on.
-
3.
Layout and Installation
Before anything is stuck down we dry-lay the first run, setting tiles out loose so you can see where the cut pieces fall. Narrow slivers at a doorway or along a tub can be shifted somewhere less noticeable while it still costs nothing. If you chose stone, this is when we sort it by color and vein. You approve the set-out, and then the floor is set, grouted and left to cure on the schedule its materials call for.
-
4.
Final Walkthrough
At the end we go over the finished floor with you, with a light held low and almost flat to the surface so that any step between tile edges shows up. We look down the grout lines for width that wanders, and at the perimeter and the plane changes where the soft joints go. If anything needs attention we agree it there, in front of the floor.
Installation Standards and Tolerances
We check the finished tile floor against published standards rather than judging it by appearance alone. These standards cover the height difference between adjoining tiles, grout joint widths, and the spacing of movement joints that allow the floor to expand. Disagreements over tile work frequently come down to tolerances that were never discussed, so we establish which standards apply to your tile before installation begins.
How Flat Is Flat: the Lippage a Standard Allows
Lippage is the height difference between adjoining tiles that you can feel underfoot. The permitted difference increases with the width of the grout joint. Under ANSI A108.02, ceramic and porcelain tile joints narrower than 1/4 inch allow 1/32 inch of lippage plus the tile's inherent warpage. Joints 1/4 inch or wider allow 1/16 inch plus warpage. Warpage is the natural bow already present in the tile before installation, so it is a property of the material rather than the installation work and is added to the allowable tolerance.
The exact tolerances depend on the tile and installation method, so we confirm the applicable limits for your product before starting. Natural stone has tighter requirements. Natural Stone Institute guidance allows approximately 1/32 inch of lippage, or about one millimeter, for the narrow grout joints typically used with stone.
Grout Joint Width Is a Spec, Not a Preference
Homeowners frequently ask for the narrowest possible grout lines, but the minimum width depends on three things: differences in tile size, warping along the edges, and the layout pattern. A running bond requires more allowance than a straight layout, and the published minimums are starting points rather than target widths. For a running bond pattern with any tile side longer than 15 inches, rectified tile, which is cut square after firing, requires joints at least 1/8 inch wide. Calibrated tile, which is sorted by size rather than cut, requires at least 3/16 inch. We determine the final grout joint width by checking the tiles delivered for your project.
Movement Joints, and Why Your Floor Needs Them
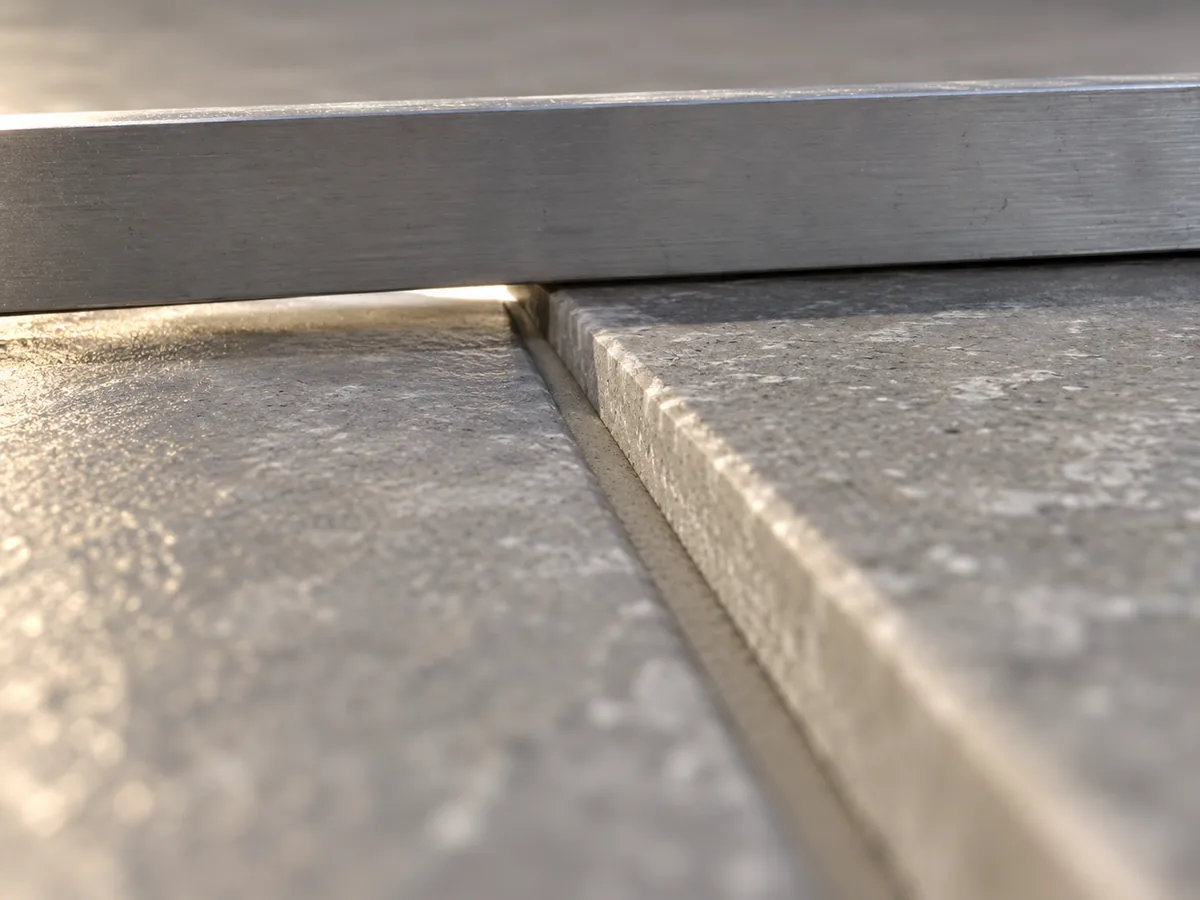
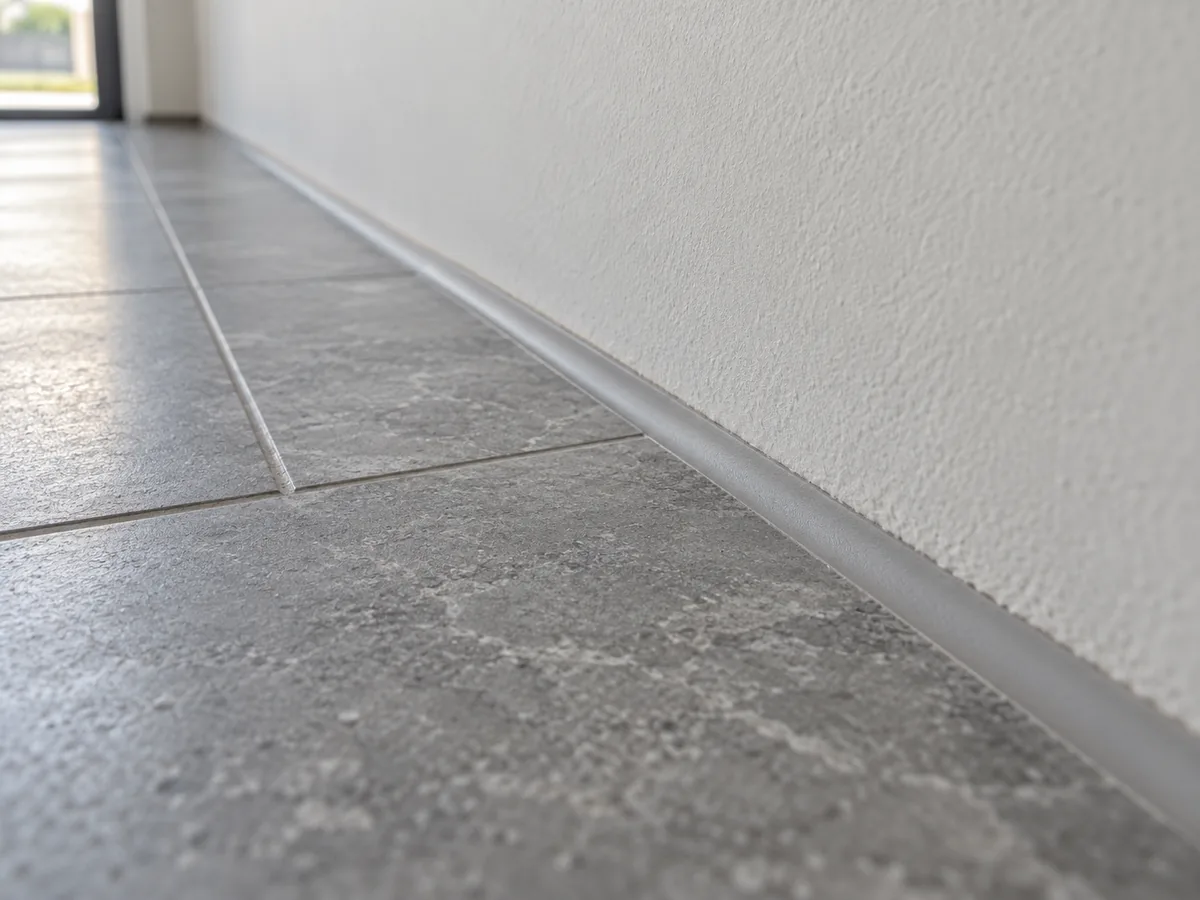
Tile, grout, and concrete slabs expand and contract at different rates as temperature and moisture levels change, so tile floors need movement joints filled with flexible sealant instead of grout. TCNA detail EJ171 specifies spacing of 20 to 25 feet in each direction for interior floors, reduced to 8 to 12 feet where tilework is exposed to direct sunlight or moisture. The spacing depends on the actual conditions in your room, not simply which direction it faces, so we determine the movement joint layout on site.
We leave a 1/4-inch movement joint around the perimeter of the floor and wherever the tile changes plane, filling these gaps with flexible sealant rather than grout. Any existing control joint in the concrete slab is carried through the tile instead of being covered. Grouting tile tightly against the walls leaves no room for expansion, which causes the floor to crack or tent as it moves.
Living With Your New Tile Floor
Your long-term satisfaction with a tile floor depends on three things: how much traction it provides when wet, how long it needs to cure before you use it, and how much maintenance it requires to keep it looking good. Those differences are hard to judge from showroom samples, which are dry, fully set, and freshly cleaned.
Wet-Area Slip Resistance and the DCOF Number
Wet slip resistance measures how much traction a floor provides when someone is already sliding on it, expressed as a DCOF rating. ANSI A326.3 sets a minimum wet DCOF of 0.42 for level interior floors expected to be walked on when wet with water. The standard also includes other categories with higher minimum requirements for barefoot areas, outdoor surfaces, and floors exposed to oils.
A wet DCOF rating of 0.42 is the minimum for a specific application, not a guarantee that a floor is safe in every condition. The test does not account for soap, grease, or sloped surfaces, all of which affect traction. You will find the DCOF rating on the tile manufacturer's data sheet, so check it before buying, especially if you are considering polished natural stone or high-gloss glazed porcelain.
Cold Slabs, Cure Time and When You Can Walk On It
Thin-set mortar and cement grout cure through a chemical reaction that requires sufficient warmth and time, rather than simply drying out. Most manufacturers require the slab and room temperature to stay above 50 degrees Fahrenheit. An unheated Sioux Falls basement or a new home under construction during winter can remain below that temperature for weeks, so we provide temporary heat and maintain the required conditions. Cure times depend on the specific mortar and grout products, and we follow their instructions for your floor. That typically means waiting one or two days before grouting, longer for large-format tile, and allowing light foot traffic before placing heavy loads on the floor. We also check slab moisture, which is a separate consideration.
Sealing Grout, and What Stone Asks For That Porcelain Does Not
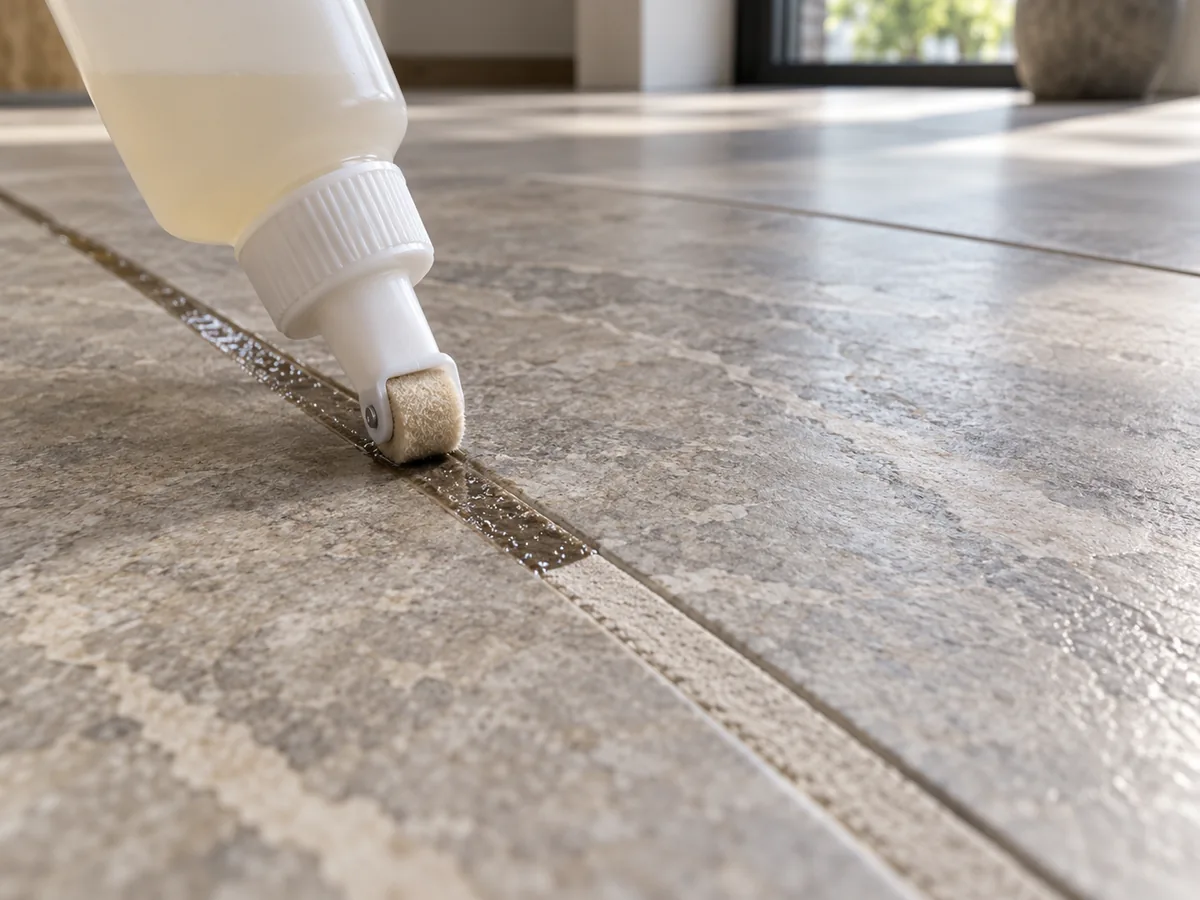
Cement grout is porous and absorbs spills, so a penetrating sealer helps prevent stains without waterproofing the surface beneath the tile. Most natural stone is also porous and requires a stone sealer, while glazed porcelain does not need sealing and epoxy grout is dense enough to go without it. Sealing is a regular maintenance task, typically every one to two years, and accounts for most of the upkeep on a tile floor. Use a pH-neutral cleaner on marble and travertine, since acidic products etch the stone. Following the manufacturer's cleaning and maintenance instructions also keeps your material warranty intact.
Why Choose Sioux Falls Hardwood Flooring
We install tile to published installation specifications rather than to habit, with the tolerances that apply to your floor named in your proposal, so you can hold the finished work against a figure instead of an opinion. You get an itemized estimate showing the price of each part of the job before anything is ordered.
- Sioux Falls Hardwood Flooring is a local company with 15 years in business.
- We provide free estimates and offer financing for larger projects.
- We carry the insurance and bonding applicable to our work and can provide documentation on request.
- Flooring and finish materials carry their manufacturer's warranty.

Service Area
Areas We Serve
Towns and Counties We Cover
Sioux Falls Hardwood Flooring provides tile installation throughout Sioux Falls and the surrounding rural communities and growing suburbs. We serve Brandon, Harrisburg, Tea, and other communities across Minnehaha and Lincoln Counties. If your address is listed below, it falls within our regular service area:
Communities We Serve
- Brandon
- Harrisburg
- Tea
- Hartford
- Dell Rapids
- Lennox
- Canton
- Crooks
- Baltic
- Worthing
- Valley Springs
- Garretson
- Humboldt
- Colton
- Renner
- Chancellor
FAQ
Tile Flooring Installation FAQs
Here are brief answers to common questions not already covered on this page.
How much should I pay for tile installation?
Make sure you are comparing the same costs. A store price covers the tile material alone, while an installed price includes labor and everything that bonds the tile down. Ask what subfloor preparation each quote includes.
Do you remove and dispose of the old floor?
Yes. We list removal and disposal separately from tile installation on your estimate so you can see the price. Our floor removal service page explains which materials we remove and how we handle disposal.
What are common tiling mistakes to avoid?
The three common mistakes are installing tile over a floor that flexes, grouting tightly against the walls without leaving room for movement, and making grout joints narrower than the tile allows. We address all three before bonding the tile to the floor.
How long before I can move furniture back onto a newly tiled floor?
Light foot traffic is fine once the grout has set. Heavy furniture waits until the materials have cured, usually about a week. Follow the mortar and grout instructions for your floor rather than a rule of thumb.
Is it cheaper to tile yourself?
Yes, on material alone. What you cannot inspect afterward is the labor beneath the tile: the subfloor inspection, the set-out, and the mortar coverage. A floor that has to come up costs more than the original labor did.
Get a Free Tile Flooring Estimate
Sioux Falls Hardwood Flooring quotes porcelain, ceramic, natural stone and patterned layouts such as herringbone the same way. You get the work written out line by line, so you can see what each part of the floor costs before you commit to any of it. To get yours priced, call (605) 799-9142 or send us the details through the quote form.